24 Dec
-1060x400h.webp "Build your countdown timer using Arduino")
Hello,
In this tutorial-based article, we are going to learn how to make an Arduino countdown timer.
Hardware Required
Software Required
Stopwatch vs Countdown timer
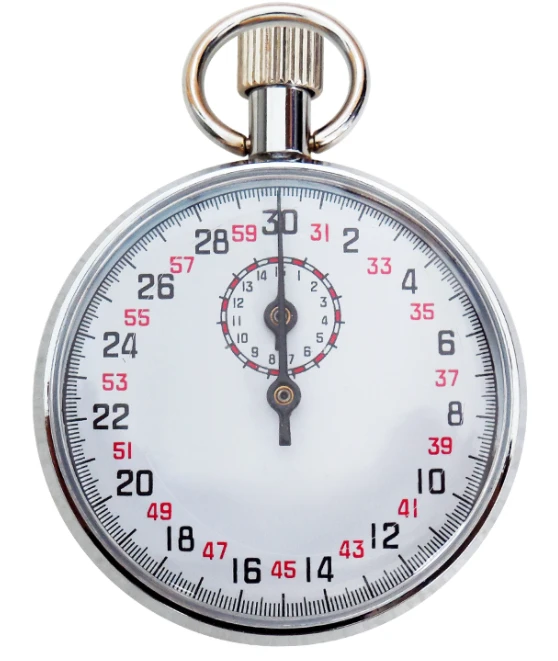
- A stopwatch is used to measure the time taken to complete a particular task whereas a countdown timer is a predetermined timer to complete a certain task.
- A stopwatch moves forward and shows the time elapsed whereas a countdown timer moves backward and eventually reaches zero.
- Examples of countdown timers include microwave timers, tv timers, etc.
- Examples of stopwatches are when they are used in different kinds of races to measure how much time each player took.
Circuit Diagram
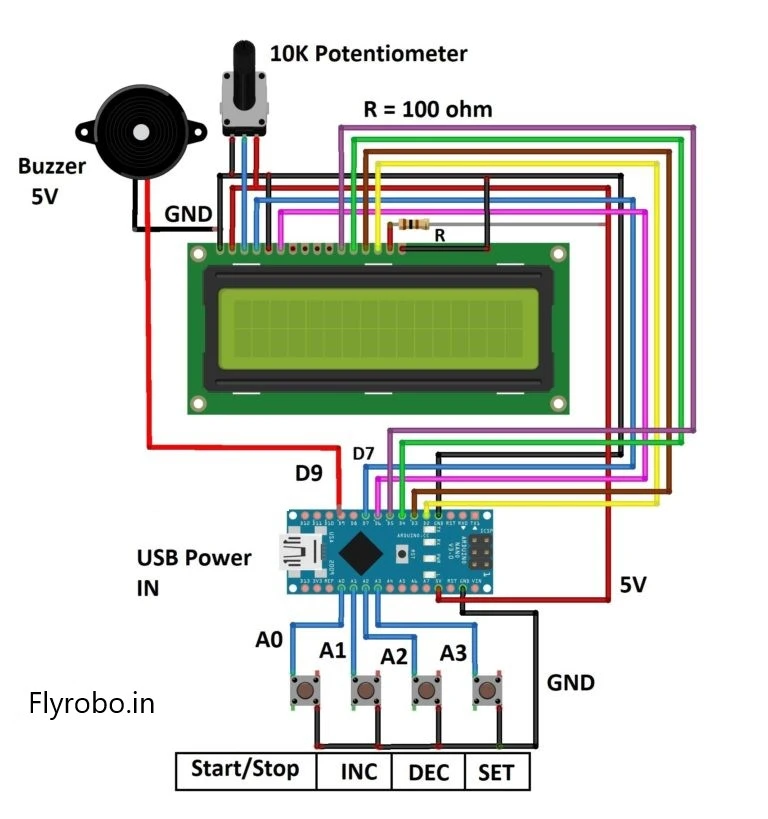
- The circuit diagram for this project is pretty self-explanatory. The LCD Display pins are connected to the Arduino digital pins 2 till 7. The power and GND pins are connected to 5V and GND pins on Arduino.
- For lighting the 100-ohm resistor is connected to the positive terminal of the LCD.
- The 4 push buttons are connected to the pins A0 to A3 and the negative terminals of all buttons are connected to the GND pin. These pushbuttons perform a specific function when pressed.
- The piezo buzzer is connected to the Arduino digital pin D9.
The working concept of the countdown timer
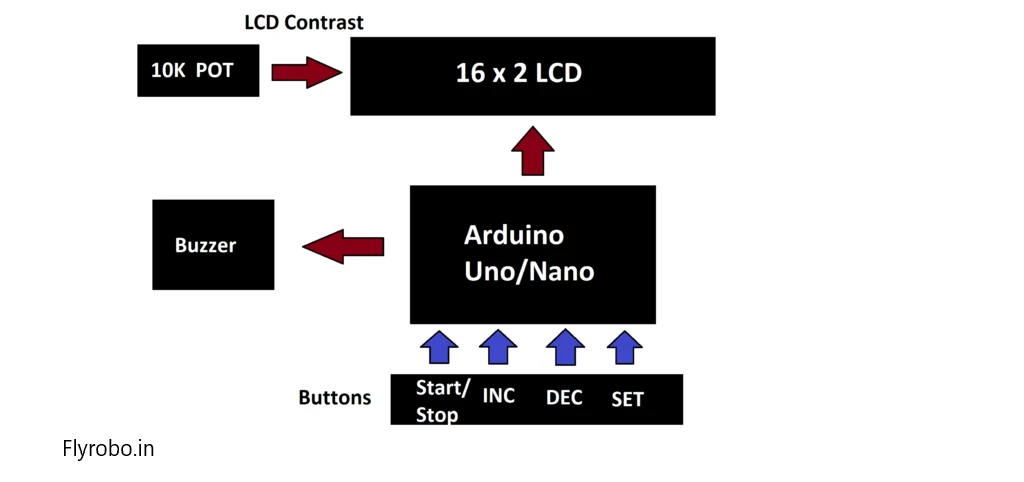
- The working concept of this project consists of 4 main components.
- Firstly, the pushbuttons have four different functions. The first button has a START/STOP function. Pressing this button once will start the time. Long pressing it will stop the timer.
- The second and third button is for INCREMENT and the third button is for DECREMENT while setting the timer.
- The fourth button is the SET button which is used to set and save time.
Arduino Code
- Upload the code.
- Power the circuit on it will display 00:01:00 (HH:MM: SS). This means by default 1 minute is set on the timer.
- Pressing the SET button will ask you to set the minutes first. You can choose anywhere from 0 to 59.
- Pressing it again will ask you to set the hours. You can set this anywhere from 0 to 23.
- Pressing the START button will start the timer. When the timer reaches zero, the buzzer will start beeping.
Now your Arduino countdown timer is ready for use.

-74 %
The Arduino Nano is a small, complete, and breadboard-friendly board based on the ATmega328 (Arduino Nano 3.x) or ATmega168 (Arduino Nano 2.x). It has..
₹195 ₹756

-71 %
If you want to add some visual output to your Arduino projects, you’ll need a display. If you need only a little to display, the LCD1602 Parallel LCD ..
₹87 ₹299

This is 10pcs of each (10 M-M, 10 M-F, 10 F-F) jumper cable Dupont wire for Arduino.
Specifications:
This is 10 pcs of each (total 30 pcs) ..
₹114

-50 %
100 ohm Carbon Film Resistors are typical axial-lead resistors, which have much better temperature stability and provide lower noise, and are generall..
₹1 ₹2

Tactile Push Button Switch is widely used as a standard input “buttons” on electronic projects. These work best when you mount it on PCB but can also ..
₹4

-55 %
Sliding Adjustable Potentiometer Module 10k is an electronic slider potentiometer module which is adjustable or compatible with Arduino / Raspberry Pi..
₹111 ₹249

-53 %
This is a general-purpose continuous Piezo Electric Buzzer Alarm. It works from 3 to 12 V.
It has two mounting holes and can be easily mounted to ..
₹28 ₹59

Leave a Comment