-1060x400h.webp "How to make RFID Door lock using Arduino")
Hello,
In this tutorial, we are going to learn the fundamentals of Radiofrequency Identification (RFID). And we are going to learn how to make a door lock using an RFID tag and Arduino.
Hardware required to make door lock using Arduino
Software required
What is RFID?
Radio Frequency Identification (RFID) is a wireless use of radiofrequency waves to transfer data. Using RFID tags allows users to autonomously and uniquely identify and track inventory and assets. RFID makes auto-ID technology much more feasible by allowing tags to be read without a line of sight and, depending on the type of RFID, having a read range between a few centimeters to over 20+ meters.
RFID has been innovated a lot from its first use of identifying airplanes as friends or enemies in World War II. Not only does the technology continue to improve year over year, but it is becoming more economical with each passing day, making RFID more cost-effective and efficient.
.webp)
Types of RFID systems
-
-
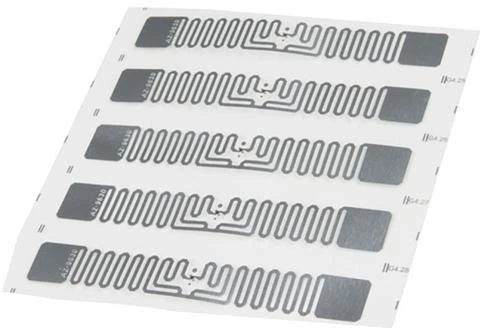
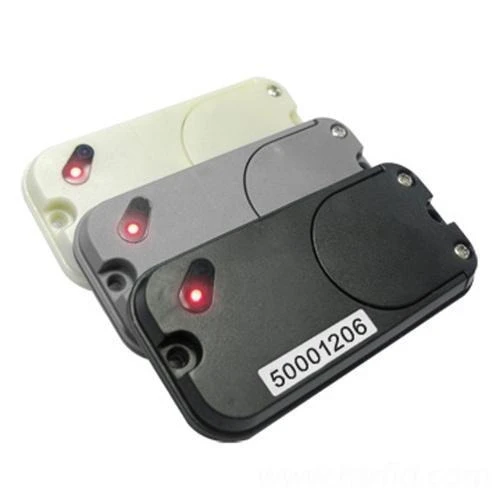
Active: Active RFID tags are the tags that have their internal power supply. This generally means they will have an increased range. Active tags usually have an increased range and have larger components. They emit a fixed interval 'chirp' which can be read over a greater distance by the reader tags. Active tags are generally bigger, more expensive, and have a lesser life span than passive tags.
RFID Frequencies
RFID can also be classified into different frequencies. Some systems are designed to read one tag at a time and others are designed to read multiple tags at a time.
|
Frequency band |
Read range |
Data & Speed |
Usage |
|
Low frequency (125 kHz - 134 kHz) |
Short to medium 3-5 feet |
Low speed - Small data |
- Animal tagging - Inventory control |
|
High frequency (13.56 MHz) |
Short 1-3 feet |
Medium speed - Small to Medium amount of data |
- Smart cards - Proximity cards |
|
Very high frequency (433MHz) |
High 1-1000 feet |
High speed - A large amount of data |
- Asset tracking - Location tracking |
|
Ultra-high frequency (860MHz - 960MHz) |
Medium 1-30 feet |
High speed - Small to Medium amount of data |
- Pallet or case level tagging |
|
Microwave frequency (2.45 GHz & 5.4 GHz) |
High 1-300 feet |
High speed - Medium amount of data |
- Container rail car - Auto toll roads |
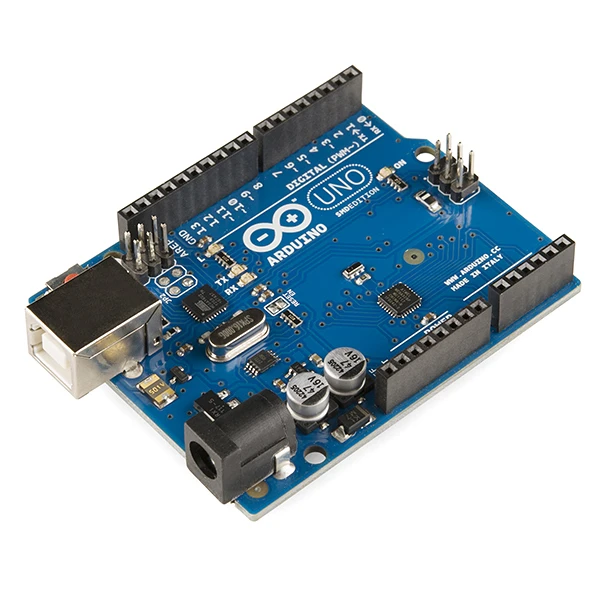
Arduino Uno
-
Arduino Uno is an open-source microcontroller board based on the processor ATmega328P. To know more about it please refer to the article mentioned here.
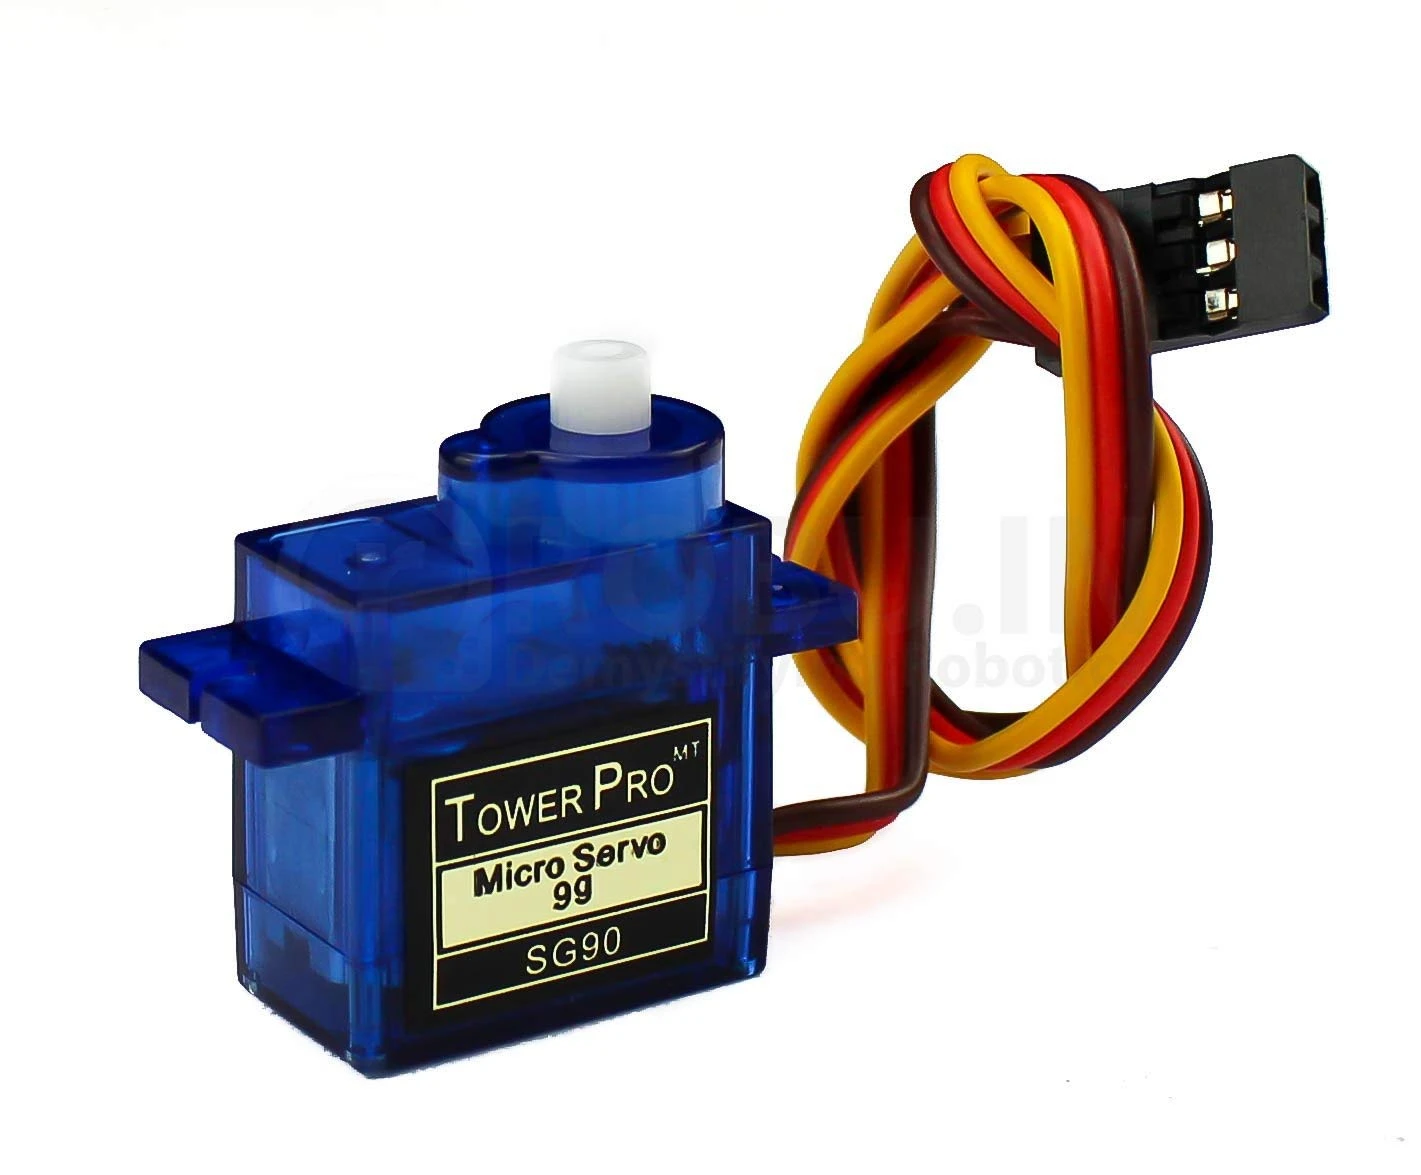
SG90 micro servo motor
-
The micro servo 9G is a light, good quality, and very fast servo motor. This servo is designed to work with most radio control systems. It is perfect for small robotics projects. The SG90 mini servo with accessories is perfect for remote-controlled helicopters, planes, cars, boats, and trucks.
Circuit Diagram
-
The circuit diagram of the door lock is shown below. In this case, we are using the SPI protocol for communication between RC522 and Arduino Uno.
-
The 9V battery has not been shown in the Diagram but you can just connect the positive terminal to Vin and the Negative terminal to GND.
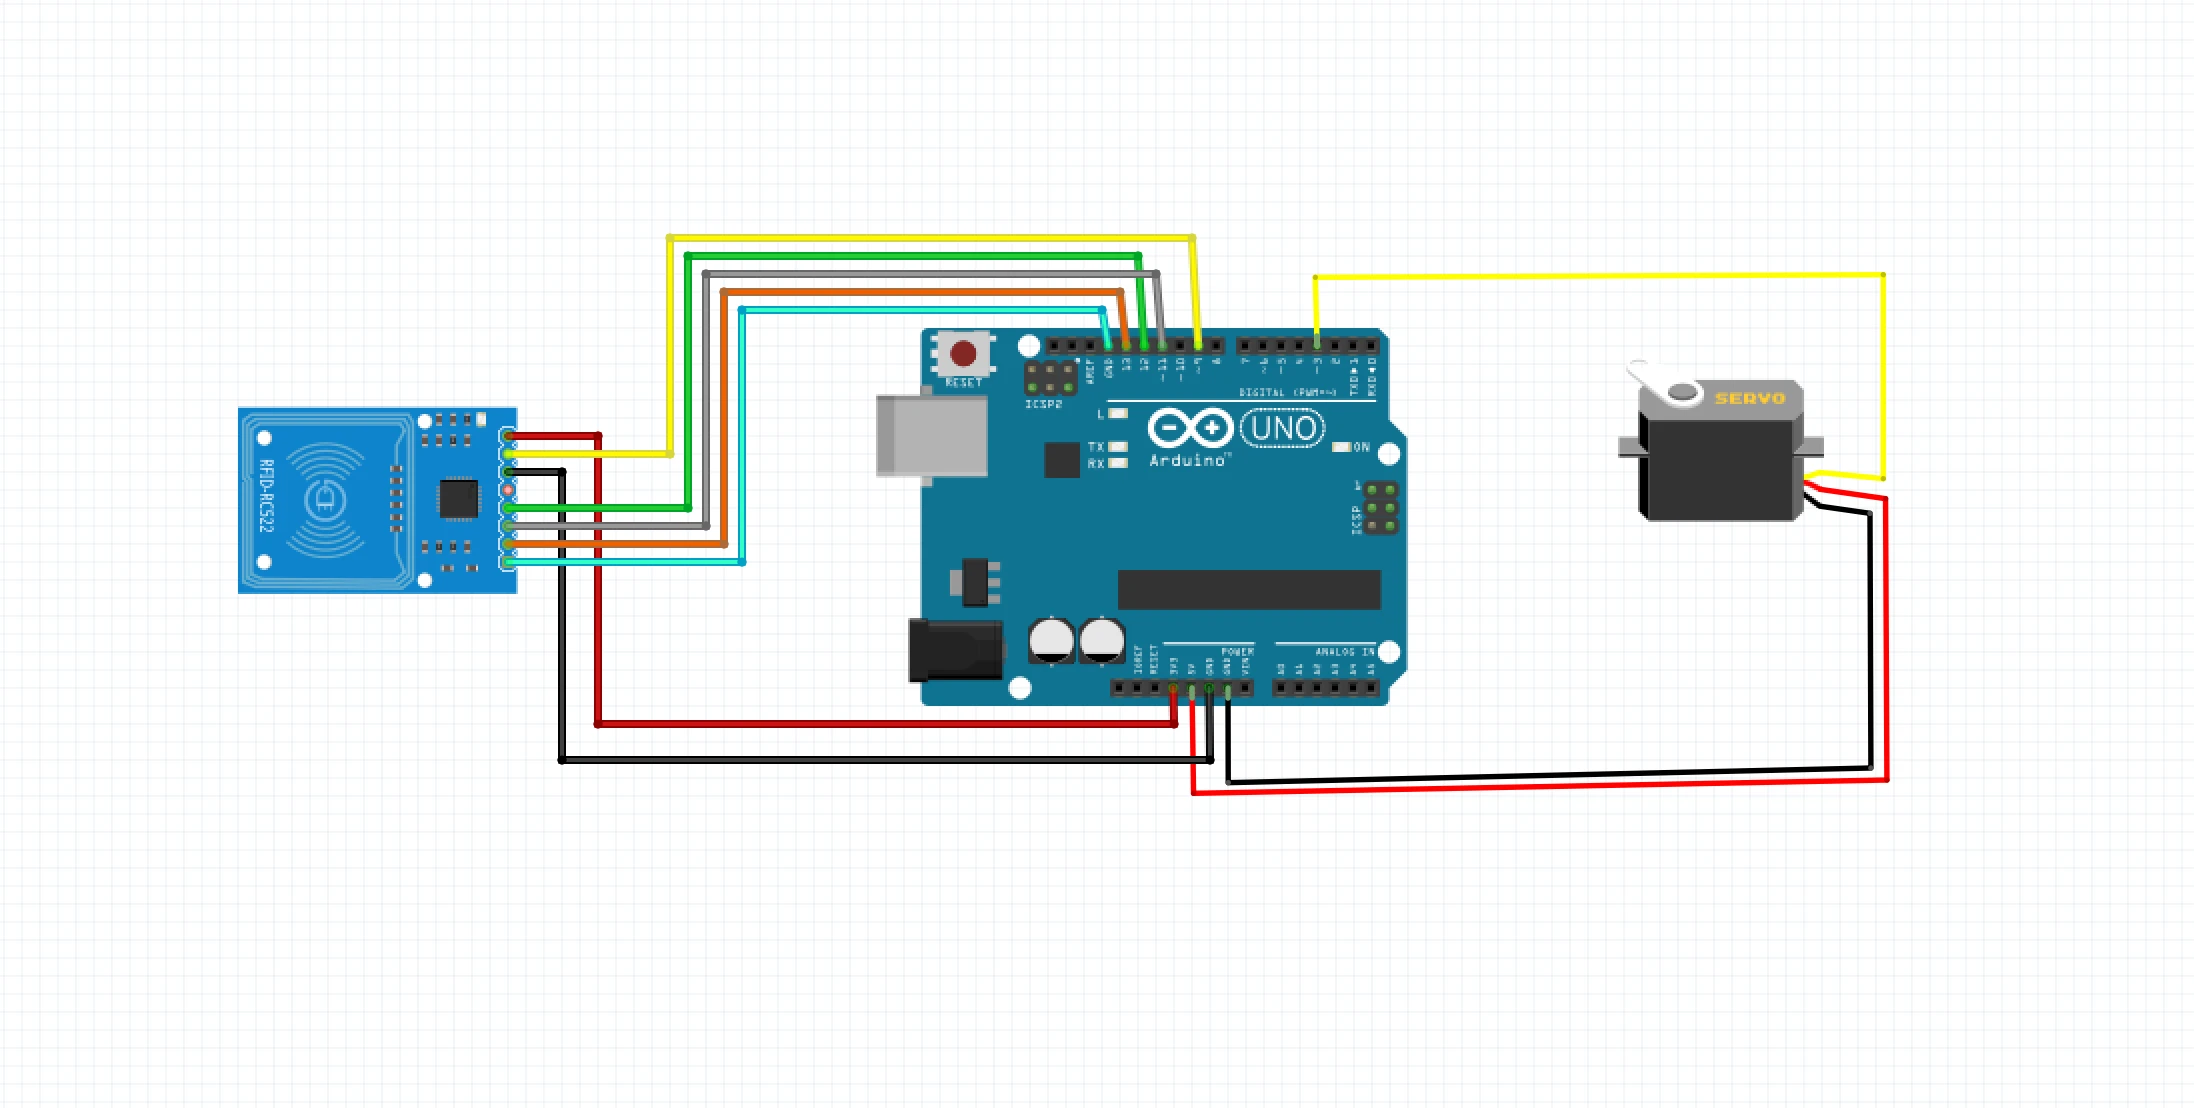
Connections between RC522 RFID and Arduino Uno
|
Pins on RC522 |
Pins on Arduino |
|
VCC |
3.3V |
|
RST |
9 |
|
GND |
GND |
|
MISO/SCL/Tx |
12 |
|
MOSI |
11 |
|
SCK |
13 |
|
SS/SDA/Rx |
GND |
Connections between Servo and Arduino Uno
|
Pins on Servo |
Pins on Arduino |
|
Red |
5V |
|
Black |
GND |
|
Yellow |
3 |
The working concept of the RFID door lock
-
At a rudimentary level, RFID systems consist of three main components: an RFID tag or smart label, an RFID reader, and an antenna. RFID tags contain an IC and an antenna, which are used to transmit data to the RFID reader (also called an interrogator). Each RFID tag has its key. So when the RFID tag has been scanned by the reader, it tries to find whether the key of the tag matches the authorized key. If the key matches, then it can be assigned a specific function. This has to be done via changes in the code in Arduino IDE.
-
So once the key matches, the RFID reader sends the signal to the Arduino board. The board in turn sends another signal to the SG90 micro servo. The micro servo is attached to the door handle in such a way that whenever the servo rotates the door opens.
Arduino Program
-
The Arduino code for the RFID door lock can be downloaded here.
-
Upload the code. Attach the Arduino, battery, and servo on the inside of the door. And attach the RFID reader to the outside of the door. This way the RFID tag can be used to open the door easily.
Troubleshooting the RFID
Depending on your surrounding conditions and setup, you might run into different types of problems. Here are some of how you can troubleshoot the issue you might be facing:
-
Avoid Radio frequency interference - Any other radio frequency-emitting devices in the area of your system may negatively affect the performance of an RFID system, especially if they operate in the same band. Having multiple RFID readers near each other can cause system interference.
-
Use a regulated power supply - In most electronic systems, noisy or dirty power supplies can cause a change in behavior in an RFID system. Clean, regulated power sources are recommended.
-
Check whether the line of sight is open or not - Open-air readings without other objects obstructing the line-of-sight between the reader and the tag can improve outputs.
-
Use another external antenna - Onboard antennas are limited in power and range. Using an external antenna can increase your power and range
-
Do not Hold Tags in your hands (UHF systems) - Humans are 70% made of water. If you hold the tag in your hand you'll disrupt the range for reading significantly. Instead, tape the tag to a non-metal, non-watery device.
-
Change tag types - Typically, the smaller the tag, the shorter the read range. If you are using a glass capsule, try a button. If you're using a button, try a card.
Congratulations, your RFID door lock is ready for use!


Leave a Comment