
For your projects, the ESP8266 ESP-01 is a compact yet potent WiFi module that can provide wireless connectivity. It's a great option for home automation, IoT (Internet of Things) projects, and more. We'll walk you through the fundamentals of setting up the ESP-01 module in this guide.
What is the ESP8266 ESP-01?
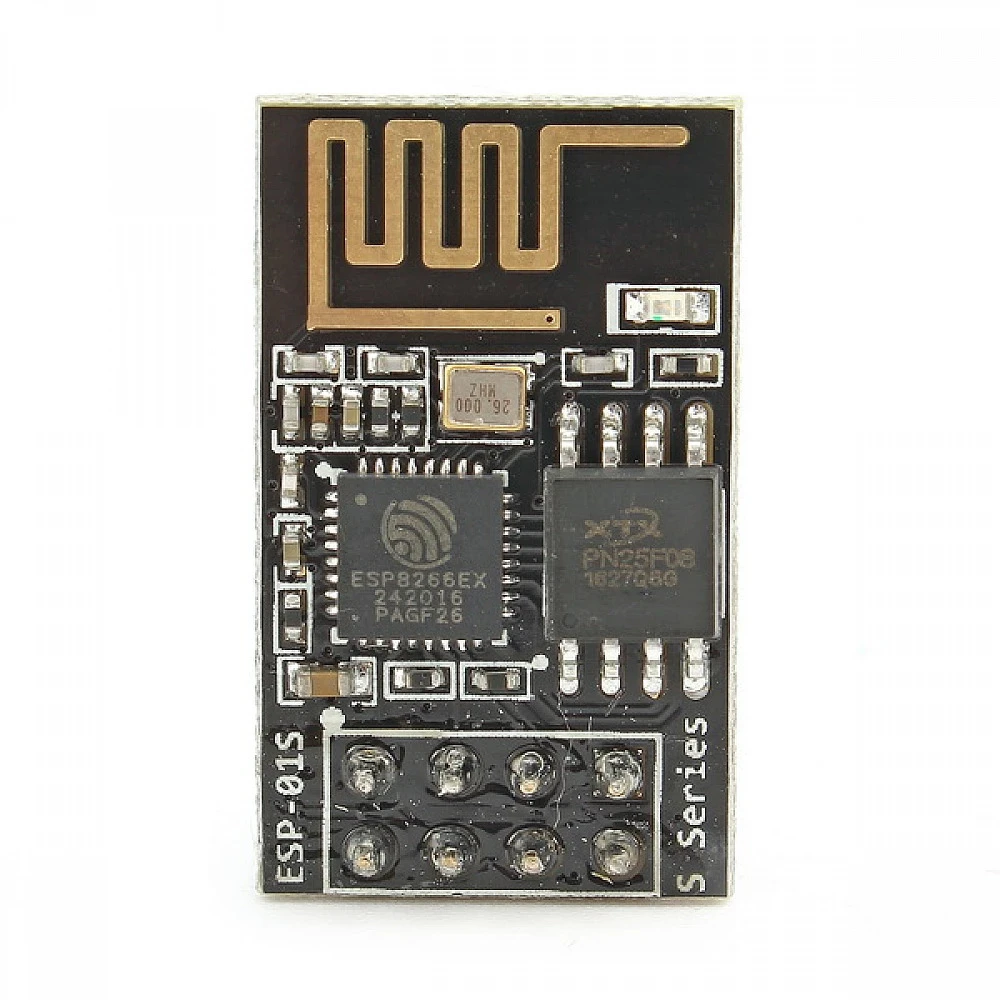
The ESP8266 ESP-01 is a low-cost, small WiFi module intended to give microcontrollers and other devices wireless connectivity. It has a built-in TCP/IP stack that enables it to connect to WiFi networks and the internet in spite of its small size.
What You'll Need
Before we start, here's what you'll need:
- ESP8266 ESP-01 module: The main component of your project.
- USB to Serial Adapter: This is used to program the ESP-01 and communicate with it.
- Computer: To write code and upload it to the ESP-01.
- Arduino IDE or another programming platform: You can use the Arduino IDE or other platforms like PlatformIO.
- Jumper wires: To make connections between the ESP-01 and the USB to Serial adapter.
Setting Up Your ESP8266 ESP-01
-
Connect the ESP-01 to the USB to Serial Adapter: Connect the ESP-01 to the adapter, ensuring that the connections match the pinout. Typically, you'll need to connect VCC to 3.3V, GND to GND, TX to RX, and RX to TX.
-
Install the Necessary Drivers: Install the drivers for the USB to Serial adapter if your computer doesn't recognize it automatically.
-
Open Arduino IDE: Open the Arduino IDE or your chosen programming platform.
-
Install ESP8266 Board Support: In the Arduino IDE, go to
File > Preferences, and add the following URL to the "Additional Boards Manager URLs" field:http://arduino.esp8266.com/stable/package_esp8266com_index.json. Then, go toTools > Board > Boards Manager, search for "esp8266" and install the package for ESP8266. -
Select the Correct Board: In the Arduino IDE, go to
Tools > Boardand select "Generic ESP8266 Module." -
Choose the COM Port: Under
Tools > Port, select the COM port to which your USB to Serial adapter is connected. -
Write and Upload Code: You can now write code for your ESP-01 project and upload it to the module. A simple example is connecting to a WiFi network. For more complex projects, explore libraries and resources available online.
-
Power the ESP-01: Make sure you power the ESP-01 with a stable 3.3V source. Avoid connecting it directly to 5V, as it can damage the module.
Experiment and Expand
With your ESP8266 ESP-01 module up and running, you can start experimenting and expanding your project. Some ideas to explore:
- Build a WiFi-controlled LED switch.
- Create a weather station that sends data to the cloud.
- Develop a WiFi-enabled sensor node for home automation.
The possibilities are vast, and the ESP-01 is a capable module for a wide range of IoT projects.
Additional Resources
If you want to dive deeper into ESP8266 programming and projects, check out the following resources:
- ESP8266 Arduino Core Documentation: Comprehensive documentation for programming with ESP8266.
- ESP8266 Community Forum: A community forum for discussing projects and troubleshooting.
Have fun tinkering with your ESP8266 ESP-01 module, and enjoy the world of wireless IoT possibilities it opens up!


Leave a Comment