
The Arduino Leonardo R3 Compatible Board is a great option if you're new to Arduino and want a flexible and powerful board. To get you started on your journey, we'll go over the essentials in this brief guide.
Introduction to Arduino Leonardo R3
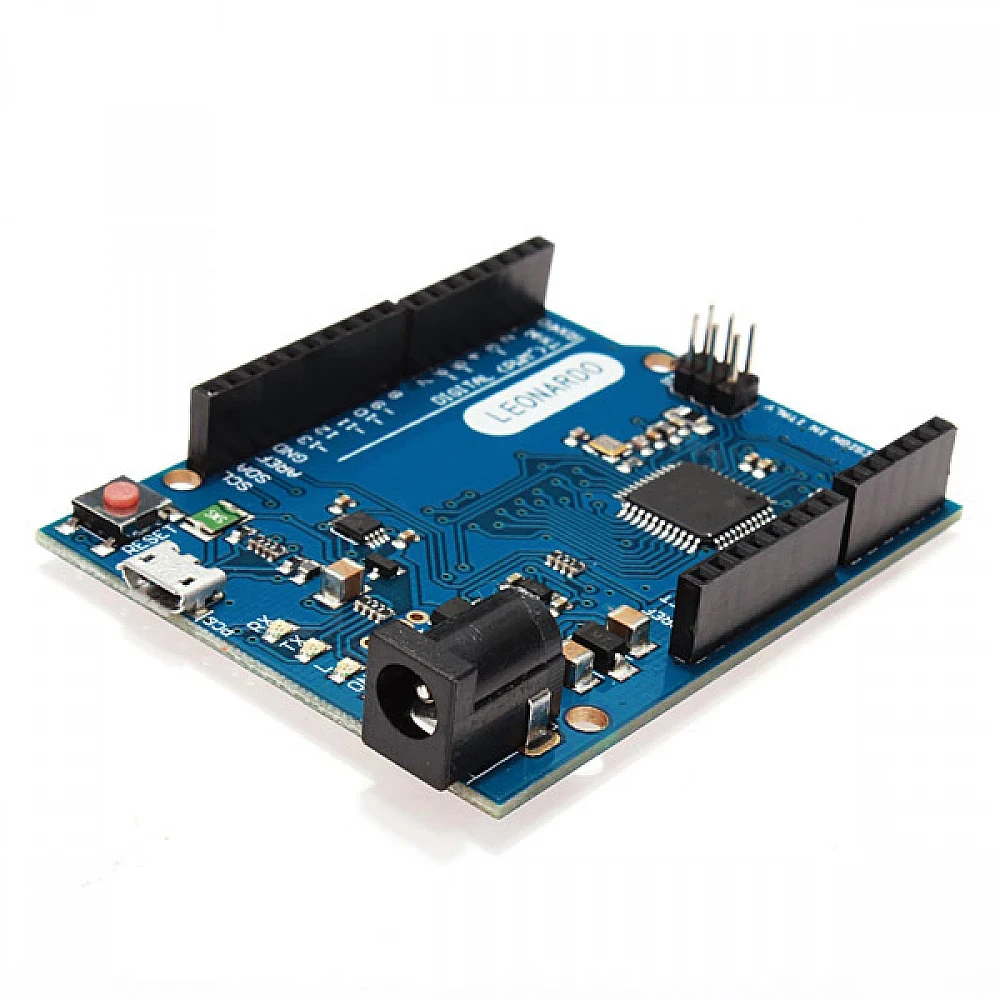
A microcontroller board built around the ATmega32u4 chip is the Arduino Leonardo R3. Its integrated USB communication, which enables it to simulate a computer mouse or keyboard and makes it perfect for projects involving human-computer interaction, is what sets it apart.
Getting Started
What You'll Need
- Arduino Leonardo R3 Compatible Board
- Computer
- USB Cable
Setup Steps
-
Download Arduino IDE: Head over to the Arduino website and download the Arduino IDE. Install it on your computer.
-
Connect Your Arduino: Use the USB cable to connect your Arduino Leonardo R3 to your computer. The board should power up, and your computer will recognize it.
-
Select Board and Port: Open the Arduino IDE, go to
Tools > Boardand choose "Arduino Leonardo." Then, underTools > Port, select the port that corresponds to your Arduino. -
Upload a Test Sketch: Open the "Blink" example sketch from
File > Examples > 01.Basics > Blink. This sketch blinks the built-in LED on pin 13. Click the Upload button (right-arrow icon) to load the code onto your Arduino. -
Verify Blinking LED: After uploading, you should see the onboard LED blinking. Congratulations, you've successfully uploaded your first sketch!
Experimenting with Arduino Leonardo R3
Now that you've got the basics down, it's time to have some fun. Here are a few project ideas to explore:
-
USB Keyboard Emulation: Leverage the Leonardo's unique feature to emulate a keyboard. Create a project where pressing a button on your board types a message on your computer.
-
Mouse Control: Experiment with mouse control using the built-in mouse emulation capabilities. Build a project where the movement of a sensor translates to mouse movements on your computer.
-
Game Controller: Turn your Arduino Leonardo R3 into a simple game controller. This is a great project for learning more about input devices.
Additional Resources
- For more project ideas and tutorials, check out the Arduino Project Hub.
- Join the Arduino community at the Arduino Forum to connect with other enthusiasts and seek advice.
In no time, you'll find yourself diving deeper into the exciting world of Arduino Leonardo R3 projects. Happy tinkering!


Leave a Comment