
Your first step into experimenting with AVR microcontrollers is the AVR 40-Pin Quick Development board. We'll quickly go over the features of this board and how to use it in this short guide.
What is the AVR 40-Pin Quick Development Board?
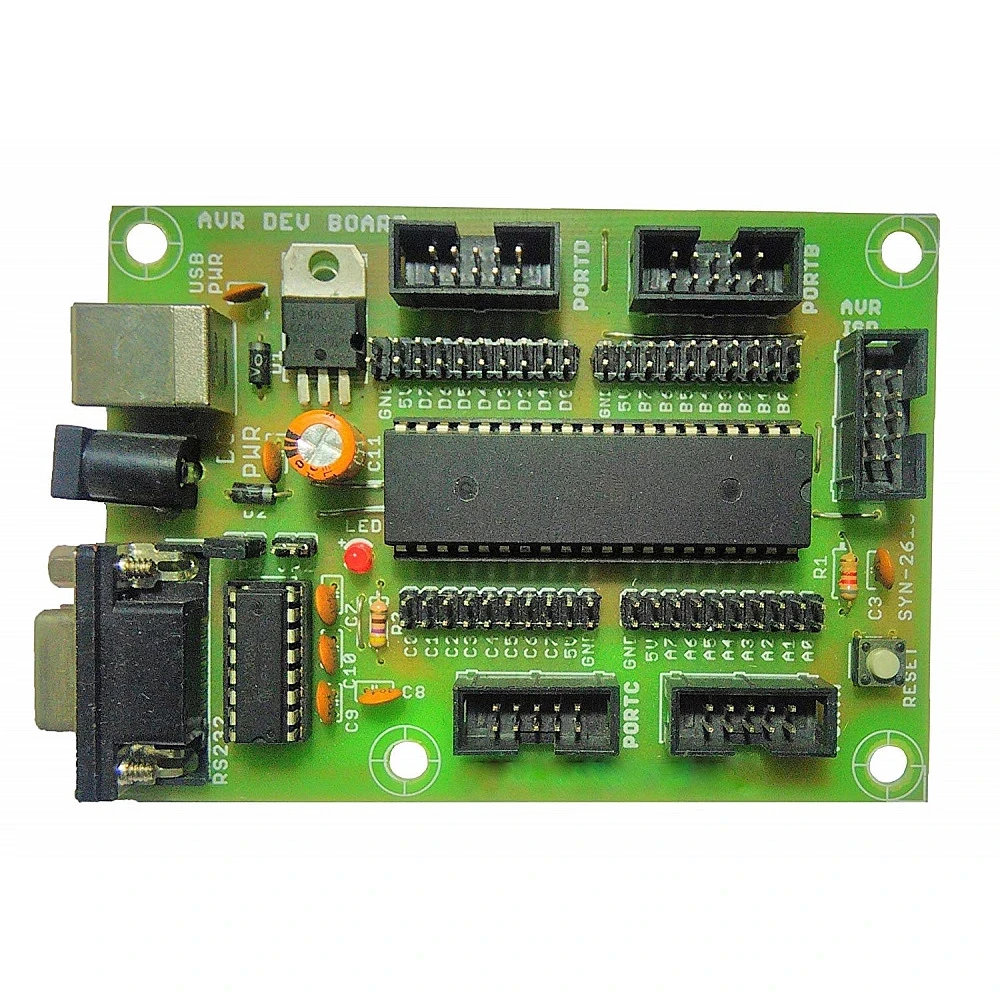
An excellent platform for experimenting with AVR microcontrollers, such as the ATmega family, is the AVR 40-Pin Quick Development board. For those who wish to explore the world of microcontroller programming, it's ideal for novices and enthusiasts.
Key Features:
- Socket for AVR Microcontroller: Insert and remove your AVR microcontroller with ease.
- Power Options: You can power it externally or through USB.
- I/O Pins: Access a variety of input and output pins for your projects.
- LEDs and Buttons: Basic components for simple testing and interaction.
Getting Started:
- Plug your AVR microcontroller into the board's socket.
- Connect an AVR programmer to your computer.
- Write your code in an AVR IDE, compile it, and upload it to the microcontroller.
- Test your code using LEDs, buttons, or other connected components.
The main distinction between Arduino and AVR 40-Pin Quick Development Board
Arduino, known for its beginner-friendliness, provides an easy-to-use Integrated Development Environment (IDE) with pre-built libraries, making it an excellent choice for newcomers. Its extensive community support and compatibility with various shields simplify prototyping. In contrast, the AVR 40-Pin Quick Development Board offers versatility and customization, suitable for those with some microcontroller experience. Its no-frills approach encourages hands-on, low-level programming, providing a deeper learning experience. While Arduino streamlines the programming process, the AVR board grants more control over code and hardware but may require a stronger grasp of microcontroller concepts, catering to those seeking a deeper understanding of microcontroller development.
Experiment and Learn:
An ideal resource for learning about and playing with microcontroller projects is the AVR 40-Pin Quick Development board. You can make a wide range of projects, from easy ones like blinking LEDs to harder ones like data logging, robotics, and sensor interfaces.
You will learn about the capabilities and versatility of the AVR microcontroller family as you explore and acquire important knowledge for developing embedded systems.
Conclusion:
An excellent tool for practical instruction and AVR microcontroller prototyping is the AVR 40-Pin Quick Development board. This board provides an easy way to implement your microcontroller projects, regardless of your level of experience as a developer.
Now take out your board, plug in your AVR microcontroller, and get ready to explore the fascinating field of embedded systems programming!


Leave a Comment